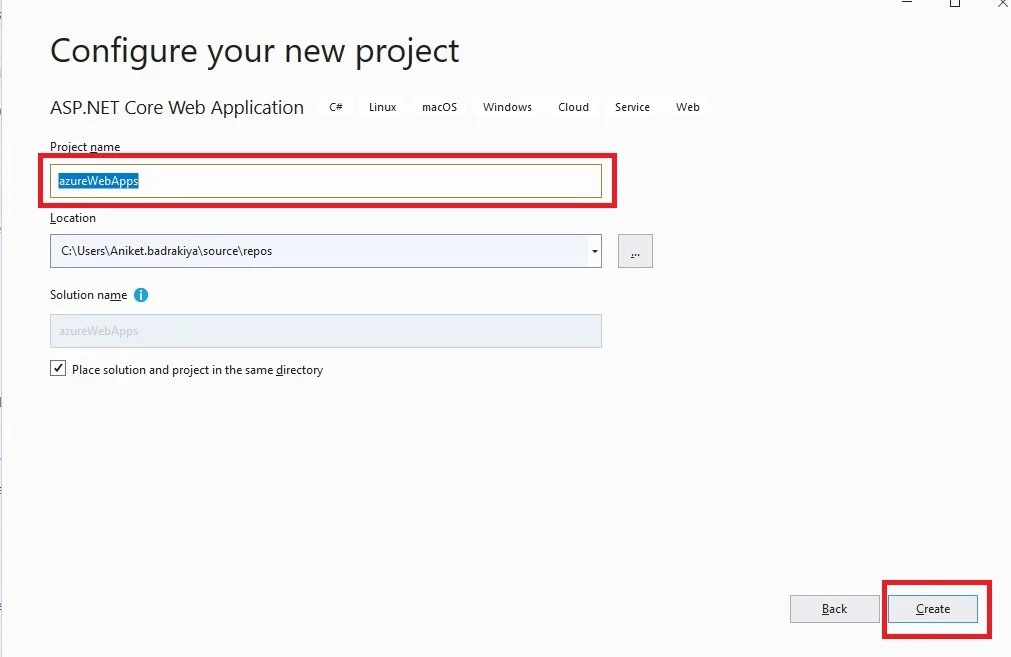
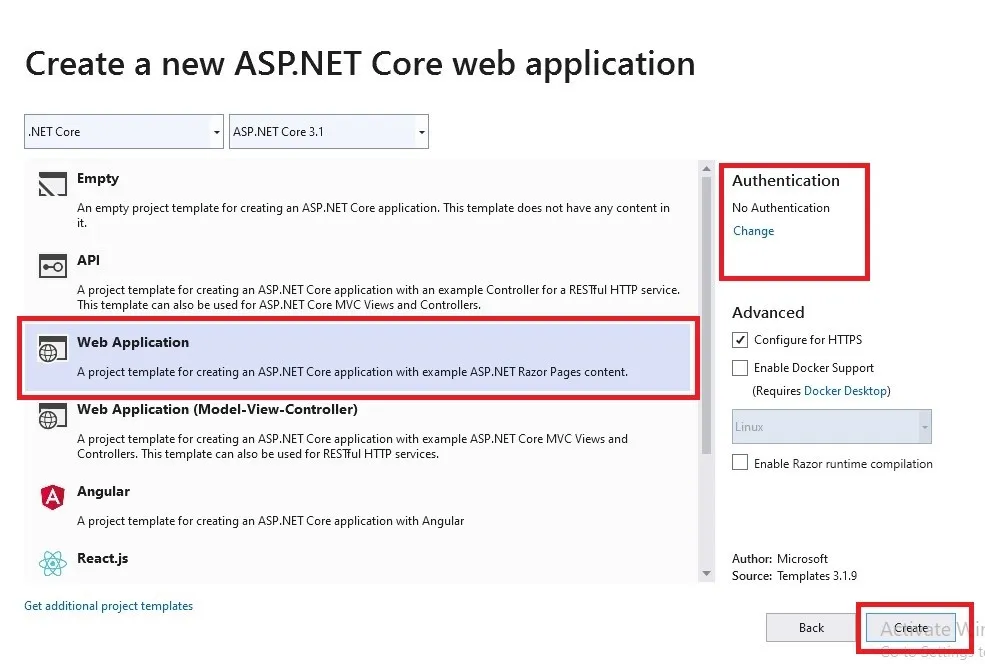
When you publish your web app, you should initially create and configure a new App Service that you can publish your web app too.
There are the following steps to create App Service:
-
In Microsoft Azure, A new resource group contains all of the Azure resources for the service.
-
In Microsoft Azure, A new Hosting Plan specifies the location, size, and features of the web server farm that hosts your app.
Follow the below steps to create your App Service and to publish your web app.
1. Open Solution Explorer, right-click the azureWebApps project, and select Publish. You have not already signed-in to your Azure account in Visual Studio, select either Add or Sign In. In Microsoft Azure, you have to create a free Azure account.
2. Choose App Service, select create new, and then select create profile in that section pick a publish target dialog box.
3.app. In this name, Valid characters are alphanumeric and “- “. This name is used as the URL prefix for your app in the format
4. Accept the subscription that is listed or select a new one from the drop-down list.
5. Select New in Resource group, after New resource group name, enter resourceGroupName and select OK.6. Select the New for Hosting Plan
6. Select the New for Hosting Plan.
7. Create a new dialog, enter the values specified in the following table in the Hosting Plan.
| Setting |
Suggested Value |
Description |
| Hosting Plan |
azureWebAppsPlan |
Name of the App Service Plan. |
| Location |
|
The datacenter where an app is hosted. |
| Size |
Free |
The Pricing tier determines hosting features. |
8. Set to none in Leave Application Insights.
9. Create a new dialog box, select create to start creating the Azure resources in the App Service.
10. Select Publish, once you are completed.
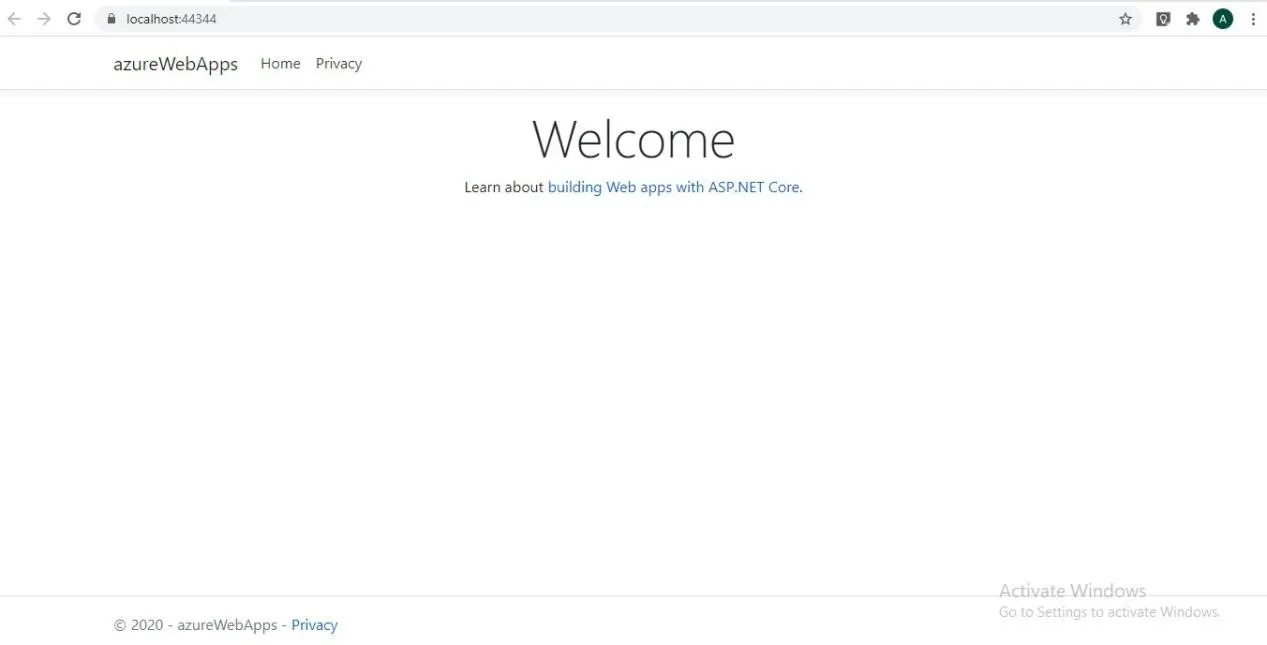
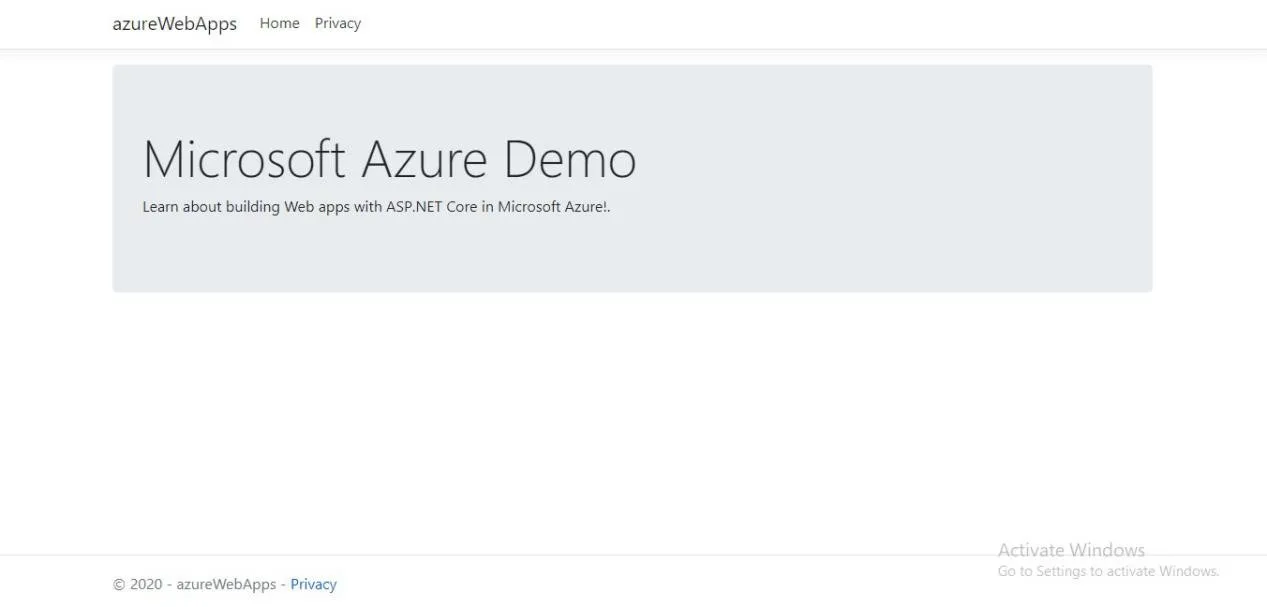
The Visual Studio publishes your ASP.NET Core web app to Azure, and your app is launched in your default browser.
Your ASP.NET Core web apps are running live in Azure App service.


