How to Do Forecasting in Power BI (Steps & Accuracy Metrics)
Remember our last guide - Power BI forecasting? It revealed things that truly blocks accuracy, both structural and situational. Now it's time to take the next step. Knowing Power...
Listening is fun too.
Straighten your back and cherish with coffee - PLAY !

REST services stand for Representational State Transfer. It is a lightweight, scalable and maintainable service that is built on REST architecture which is used to access and manipulate the resources identified through URL.
To consuming Web API REST services first you need to create a Web API REST service and then publish and host the web service on the IIS server you created. After hosting the web service then consuming this API in the client application.
After creating and hosting web API Now we start consuming Web API REST service in our ASP.NET MVC application step by step.
Open Microsoft Visual studio. Click on File followed by NEW, then click on the project, select ASP.NET web application, give an appropriate name and click OK.
After clicking OK, the following window will appear. select Empty and MVC Options then click OK.
[Empty MVC Application]
This step creates the simple ASP.NET MVC application without any controller and view. This is how your project should be like in solution Explore.
Now we need to Install the HttpClient library from NuGet
We use the HttpClient to consume our Hosted Web API REST service. So for this, we need to install the HttpClient library from NuGet Package Manager.
Right-click on the Application name and click on Manage NuGet Package.
What is HttpClient?
HttpClient class provide a base class that is used to send HTTP request and receive HTTP response resources.
HttpClient sends and receives data from Web API URL which is hosted on the local IIS server.HttpClient can process multiple requests concurrently.
[Install HttpClient Library]
Search System.Net.Http and click on the install button. It will be taking few seconds for installing this Library.
Now we need to Install WebAPI.Client library from NuGet
Search Microsoft.AspNet.WebApi.client and click on the install button. It will be taking few seconds for installing this Library. We need to install all necessary packages to consume Web API REST services in our application.
[Install WebApi client Library]
Now, we have installed all the necessary packages require to consume Web API REST services in web applications.
Create Model Class
Now, we need to create a model class inside the model folder. Right-click on the Model folder and add a class named Employee. cs.
Employee.cs file
using System;
using System.Collections.Generic;
using System.Linq;
using System.Web;
namespace ConsumingWebAPI.Models
{
public class Employee
{
public int Id { get; set; }
public string Name { get; set; }
public string city { get; set; }
public string EmailID { get; set; }
public long Salary { get; set; }
}
}
Right-click on the controller folder, click on Add and select controller. select the Empty template from the controller list and give the appropriate name to the controller.
[Empty Controller]
In my hosted web API RESET services, I have included two methods, as given below
GetAllEmployee method handles HttpGET.GetEmployeeById handles HttpPOST this method takes employee id as a parameter in the method.
In the controller method, we are going to call the GetAllEmployee method that returns all the details employee, my hosted web API REST service base URL is http://192.168.45.1:6350/ and call the methods as per your requirement specified from our hosted web API REST services. This URL be a base URL after the URL it will be the API controller name and API method same as the following.
http://192.168.45.1:6350/api/Employees/GetAllEmployee
In the preceding URL
Add the following code inside the controller.
EmployeeController
using ConsumingWebAPI.Models;
using Newtonsoft.Json;
using System;
using System.Collections.Generic;
using System.Linq;
using System.Net.Http;
using System.Net.Http.Headers;
using System.Threading.Tasks;
using System.Web;
using System.Web.Mvc;
namespace ConsumingWebAPI.Controllers
{
public class EmployeeController: Controller
{
string Baseurl = "http://192.168.95.1:5555/";
public async Task Index()
{
List EmpInfo = new List();
using (var client = new HttpClient())
{
client.BaseAddress = new Uri(Baseurl);
client.DefaultRequestHeaders.Clear();
HttpResponseMessage Res = await client.GetAsync("api/Employee/GetAllEmployees");
if (Res.IsSuccessStatusCode)
{
var EmpResponse = Res.Content.ReadAsStringAsync().Result;
EmpInfo = JsonConvert.DeserializeObject>(EmpResponse);
}
return View(EmpInfo);
}
}
public async Task Details()
{
List EmpDetails = new List();
using (var client = new HttpClient())
{
client.BaseAddress = new Uri(Baseurl);
client.DefaultRequestHeaders.Clear();
client.DefaultRequestHeaders.Accept.Add(new MediaTypeWithQualityHeaderValue("application/json"));
HttpResponseMessage Res = await client.GetAsync("api/Employee/GetEmployeeById");
if (Res.IsSuccessStatusCode)
{
var record = Res.Content.ReadAsStringAsync().Result;
EmpDetails = JsonConvert.DeserializeObject>(record);
}
return View(EmpDetails);
}
}
}
}
Create View
Now, we need to create a view. Right-click on the index method, click on Add view and give the name for it then select model class for the view. Select list in the template, it will create the required index view.
Index.cshtml
@model IEnumerable@{ ViewBag.Title = "Index"; } Index
@Html.ActionLink("Create New", "Create")
@foreach (var item in Model) { }
@Html.DisplayNameFor(model => model.Name) @Html.DisplayNameFor(model => model.city) @Html.DisplayNameFor(model => model.EmailID) @Html.DisplayNameFor(model => model.Salary) @Html.DisplayFor(modelItem => item.Name) @Html.DisplayFor(modelItem => item.city) @Html.DisplayFor(modelItem => item.EmailID) @Html.DisplayFor(modelItem => item.Salary)
we create a detailed view for getting employees using id.
Detail.cshtml
@model ConsumingWebAPI.Models.Employee
@{
ViewBag.Title = "Details";
}Details
Employee
-
- @Html.DisplayNameFor(model => model.Name)
-
- @Html.DisplayFor(model => model.Name)
-
- @Html.DisplayNameFor(model => model.city)
-
- @Html.DisplayFor(model => model.city)
-
- @Html.DisplayNameFor(model => model.EmailID)
-
- @Html.DisplayFor(model => model.EmailID)
-
- @Html.DisplayNameFor(model => model.Salary)
-
- @Html.DisplayFor(model => model.Salary)
-
@Html.ActionLink("Back to List", "Index")
We have done all the coding.
Now, run the application and you can observe the expected result.
Optimize your ASP.NET MVC application with our specialized API Integration Services. From seamless REST service consumption to enhancing data interactions, our team ensures streamlined development and increased efficiency. Discover how we can elevate your application today!
Here in this blog, we have learned how to consume REST Web API Services using HttpClient step by step using Asp.Net MVC. This helps you to comprehend REST API services, and how it is hosted before consuming services for the application.

Remember our last guide - Power BI forecasting? It revealed things that truly blocks accuracy, both structural and situational. Now it's time to take the next step. Knowing Power...

It's amazing to see how Data teams today are racing ahead - moving from traditional warehouses to cloud-native platforms, lakehouses, and real-time architectures. But in this rush,...

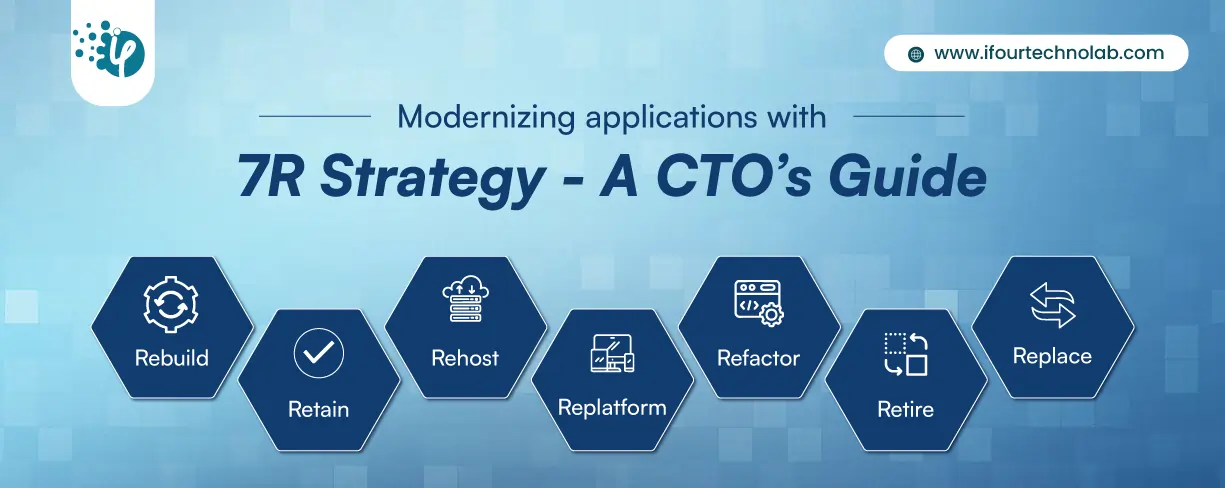
Think about the last time CTOs spent most of their time fixing old systems. Updates were slow, servers were expensive, and adding new features took time. Now, things have changed....