What’s New in ASP.NET Core 10 – Key Features & Expert Insights
We tracked the evolution of .NET 9 on Reddit, and watched the heated debates on .NET 6 vs .NET 8. And just when we thought that things had finally settled, Microsoft drops another...
Listening is fun too.
Straighten your back and cherish with coffee - PLAY !
Using Azure Active Directory (Azure AD) B2C, powerful self-service identity management features can be added to desktop app in a few short steps by asp.net software companies USA.
This article shows how to create a .NET Windows Presentation Foundation (WPF) app that includes user sign-up,
sign-in, and profile management. This app includes support for sign-up and sign-in by using a user name or email. It supports sign-up and sign-in by social accounts such as Facebook and Google.
Before using Azure AD B2C, we must create a directory, or tenant. A directory is a container for all of your users, applications, groups, and more. If you don't have directory already then create a B2C directory.
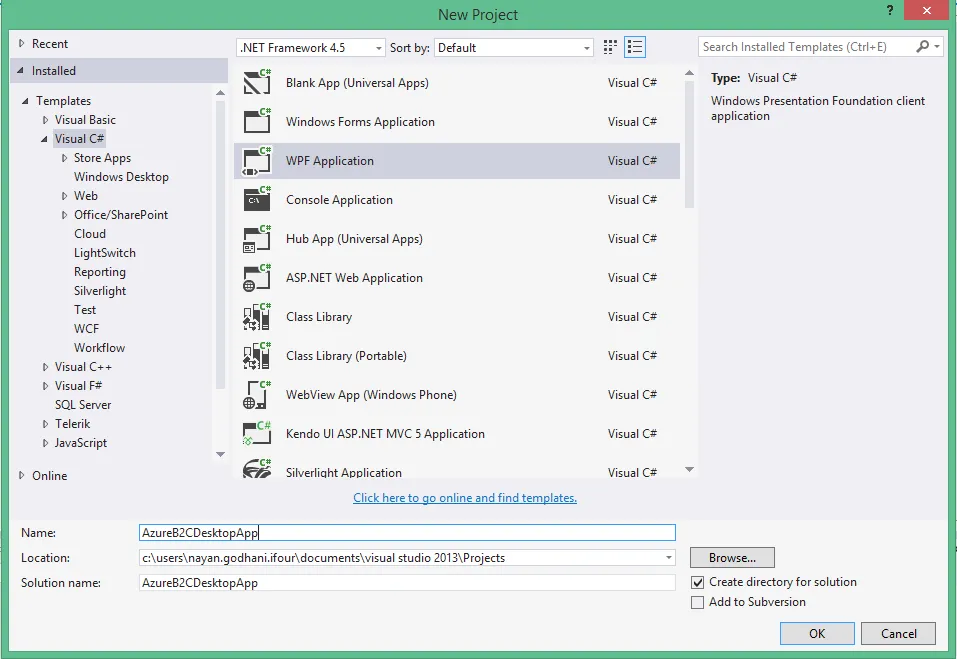
Step 1: Creating WPF Project
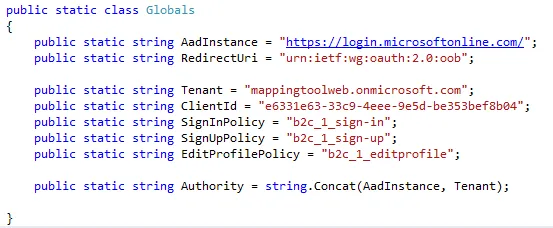
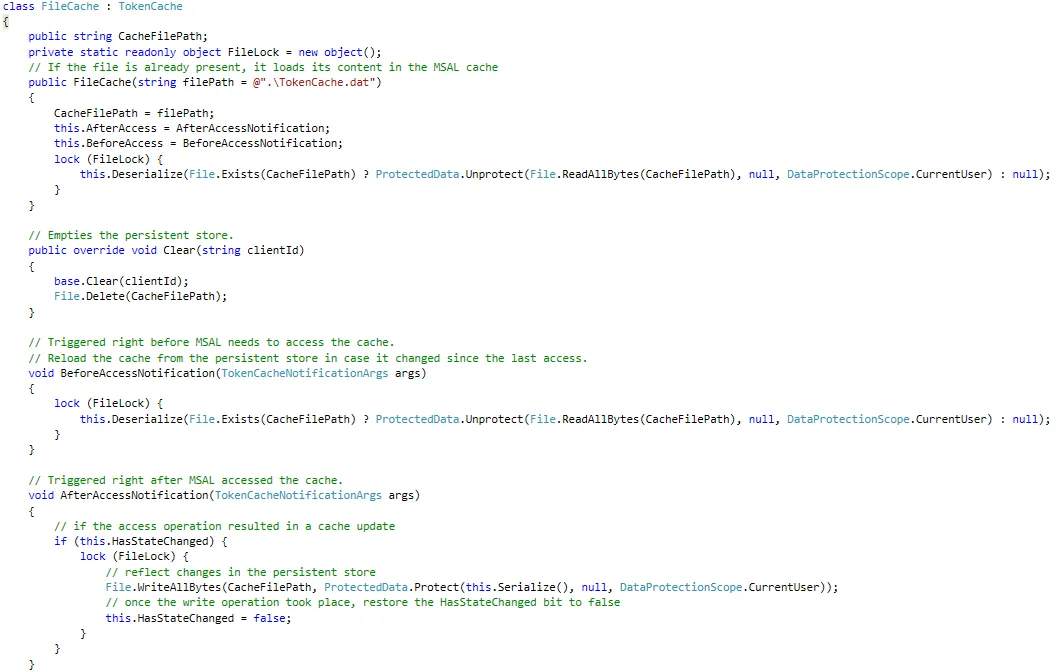
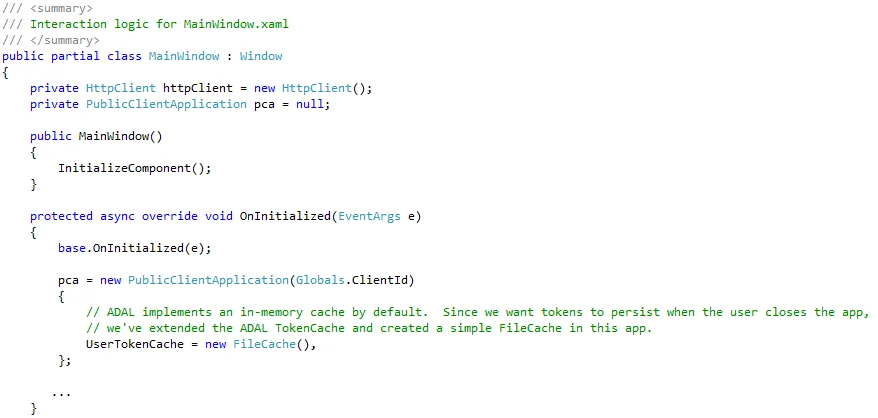
The primary class of Microsoft Authentication Library (MSAL) is PublicClientApplication. This class represents your application in the Azure AD B2C system. When the app initializes, create an instance of PublicClientApplication in MainWindow.xaml.cs. This can be used throughout the window.
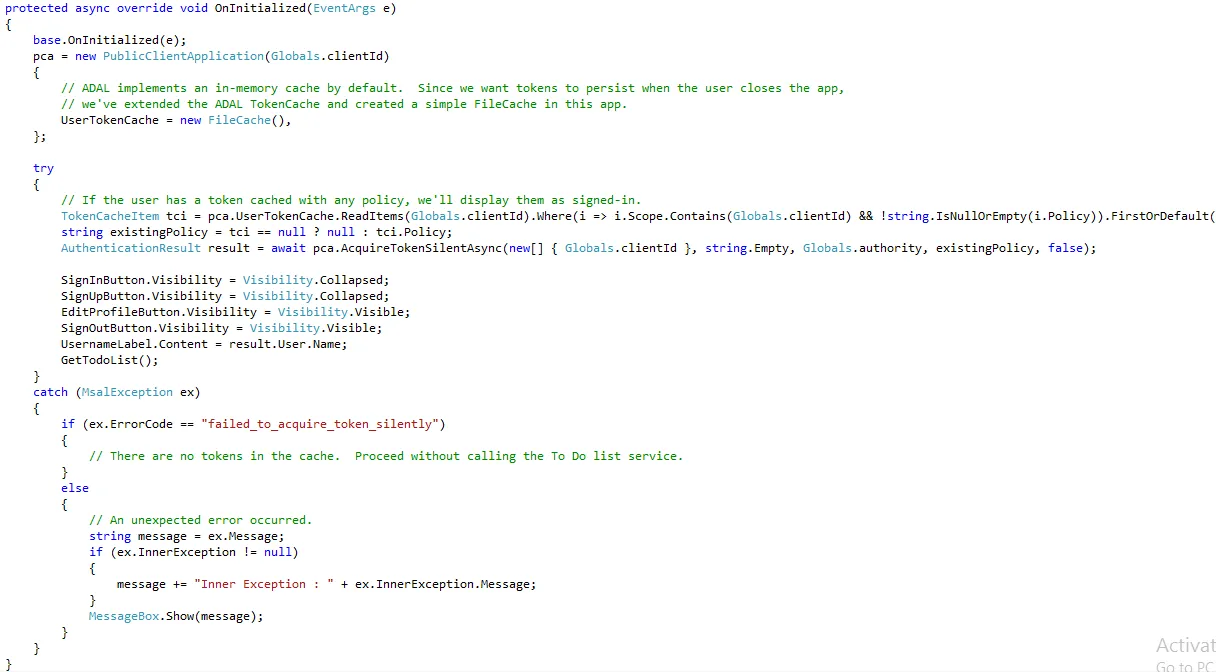
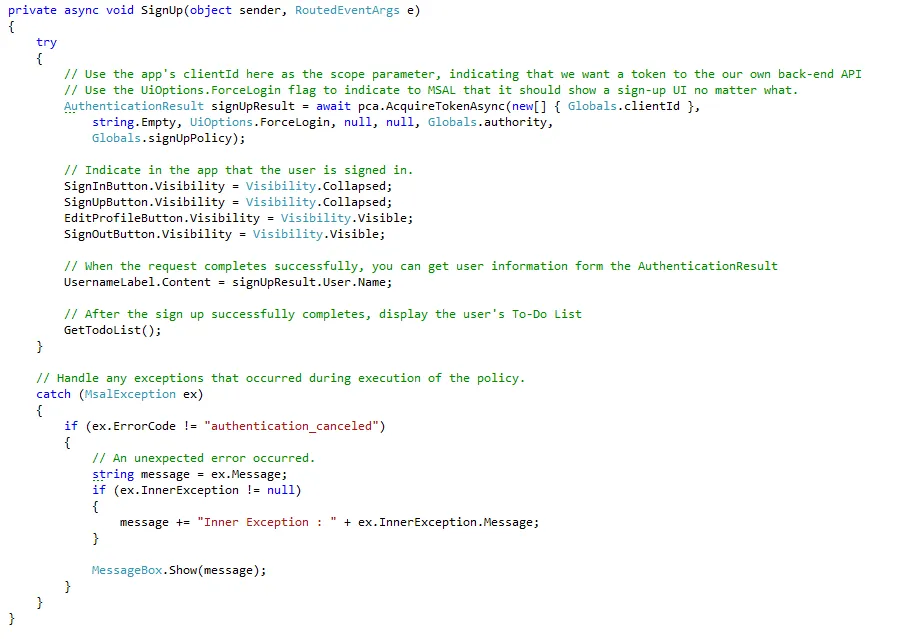
When a user opts to signs up, you want to initiate a sign-up flow that uses the sign-up policy you created. By using MSAL, you just call pca.AcquireTokenAsync(). The parameters you pass to AcquireTokenAsync() determine which token you receive, the policy used in the authentication request, and more.
You can initiate a sign-in flow in the same way that you initiate a sign-up flow. When a user signs in, make the same call to MSAL, this time by using your sign-in policy:

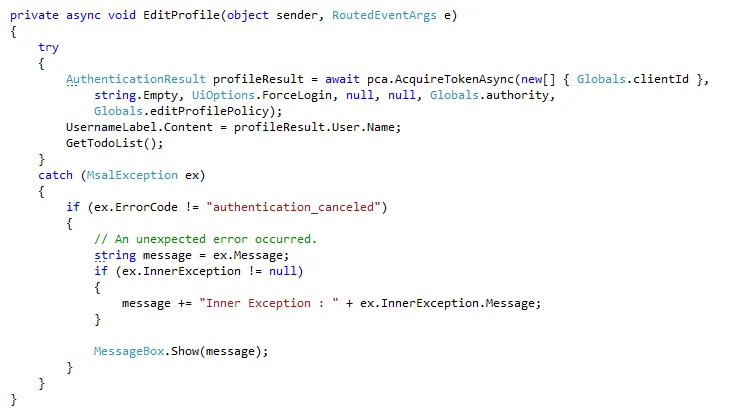
Again, you can execute an edit-profile policy in the same behavior:
In all of these cases, MSAL either returns a token in AuthenticationResult or throws an exception. Each time you get a token from MSAL, you can use the AuthenticationResult.User object to update the user data in the app, such as the UI.
Finally, we can end a user's session with the app when the user selects Sign out. When using MSAL, this is accomplished by clearing all of the tokens from the token cache:

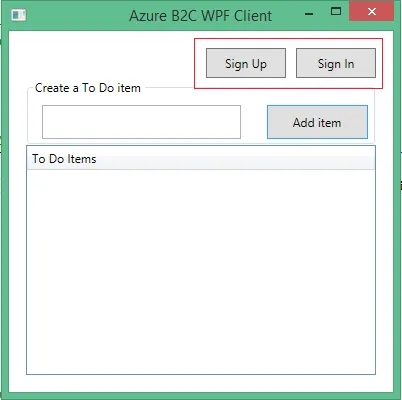
By using Azure Active Directory (Azure AD) B2C, ASP.NET software development companies can add powerful self-service identity management features to desktop application.

We tracked the evolution of .NET 9 on Reddit, and watched the heated debates on .NET 6 vs .NET 8. And just when we thought that things had finally settled, Microsoft drops another...
Several experts, particularly those just starting out, often find themselves confused about WPF and UWP, wondering if they are the same. Since they are used to create great UIs for...

Many companies rely on advanced technologies to make informed decisions in their business. For instance, some Chief Technology Officers (CTOs) turn to Power BI consulting services,...